
A Backpack by @nomaticgear for 1-3 day trips. My review is for a 5 day trip!
I recently shelled out my hard earned cash for a serious backpack. I was torn between an everyday backpack or a multi day pack. I eventually went for the bigger pack. I’m glad that I did.
Summary
There are two very similar bags. The Nomatic backpack for daily travel, and the Nomatic travel pack for 1-3 day trips. This review is for the travel pack for 1-3 day trips. I bought mine with all the optional inserts and used them as designed for the review.
4* out of 5*. Great for the daily commute and for staying 1-2 nights in London. Not ideal for multi day trips that require flying, as the bag doesn’t fit under seats or in short haul lockers when fully packed (long haul lockers are fine).
Won’t fit in many UK train companies’ overheads when packed for multiple days (only just fits when packed for one day).
A stylish, hard wearing bag, with a clever packing system and pockets galore. Very clever cable interlink between pockets to allow for charging on the move.
Sometimes the bag feels like it’s trying to be too clever, with pockets in unusual and not useful places, a key chain retraction system that doesn’t quite work, and a shoe compartment that is too small. Clearly wasn’t tested with UK consumers travelling in the UK on the train or to mainland Europe on short haul.
It’s built sturdy for multi day trips which means it’s a little heavier than most day commute bags, but I find this an acceptable trade off. I’d rather buy kit that lasts!
For the daily commute
I’ve really only used the pack once for normal commuting so far in the UK, and for 3 days in the USA walking to the office. I travel two hours to London, ride the tube, get to my office, travel through London to meetings, then travel back home. So pretty typical usage.
The expansion zip for the clothes compartment can be retracted so the bag doesn’t feel massive when clothing isn’t stored in it. I just carry a laptop, various pens (oh so many pens… An entirely different blog post right there!), a woolly hat (side effect of having no hair!), a few dongles (yes, I’m a Mac user), headphones and a small first aid kit. (You never know when someone will be injured!)
On the train down I could quickly extract my laptop thanks to the full length zips and the way the compartment opens all the way, allowing the laptop compartment to open to 90 degrees if needed.
I also store my headphones in one of the top mesh pockets in the main compartment. This allows for quick access. I store the first aid kit and hat in this compartment too as they’re bulky and won’t fit easily in to the pens / cables compartment.
The bag fits well when configured for a single day in to the overhead hand luggage racks – no easy feat on British trains. Remember though, the expansion isn’t opened out. If it were expanded with the shirt bag, compression (underwear) bag, and wash bag then it would not fit on the rack. The racks aren’t quite big enough for airline sized hand luggage.
With the rear section of the clothing compartment completely empty the bag retains its shape well, stands on its own, and is sturdy. I had worried that with the front pockets full, the laptop in the back, and the middle empty that the shape would be lost. This doesn’t happen, making the bag sturdy and comfortable to wear when nearly empty.

Our company water bottle isn’t metal. Nomatic make a big thing about their magnetic side pockets and I had worried a non metal one would slip out.
This doesn’t happen. The bottle is held tight by the mild compression of the side pocket system. You will trust it quickly and forget the bottle is there. If your bottle leaks slightly you may get dripped on for a couple of hours on the train when it’s in the rack! Not the bags fault though, I just forgot the bottle was there! The bottle does occasionally slip an inch upwards when empty, but hasn’t escaped fully yet.
Turns out, it’s the fastening of the pocket that is magnetic in order to keep it laying flat whilst empty, rather than the pocket itself sticking to a metal bottle via magnetism! This is not obvious from the video dialogue on their website.
Front pocket use
I work for Pivotal, an agile software development company. So I carry loads of pens, whiteboard markers, post it notes, blue tape, sharpies, and sticky dots! That’s agile analysis with customers for you!

There’s plenty of room for everything. My only slight gripe with the front pocket is that it doesn’t expand when filled. This means you’re limited as to how thick things are that you place in here. As you can see below, when it’s half closed that area gets very tight:-

This section is designed for pens, USB cables and a power brick at most. Anything thicker and you won’t be able to shut the compartment.
When I travelled for multiple days I had to take out everything thicker than a pen in order for everything to fit. The travel power adapter wouldn’t even fit in, and I had to be really careful how I packed the MacBook Pro power block – I had to use the USA plug rather than UK plug-plus-adapter. Luckily I had one of these handy for my Mac. My large headphones won’t fit in at all, so I took my in-ear noise cancelling ones instead.
Still, for keeping the ephemera of modern computing under control for 1-2 day trips, this compartment and its many pockets work well.
If you need storage for a few larger items each with their own pocket rather than in one big pocket, then you need to look at the day pack not the travel pack, as that comes with such a compartment with an organisation divider for this purpose. This travel pack does not.
That’s not a problem for this techie on 1-2 day trips!
Laptop compartment
Now I was a bit worried about this pocket. On most bags that say they are 15″ compatible it usually means only for thin machines like Macbook pros. Whilst my day job is with a Macbook Pro, I have a PC Specialist Recoil II (with the Haiku Operating System) laptop too, which is a beast and thicker.

Happily either laptop fits fine in the nice and velvety padded laptop slip. This has a single but sizable velcro retainer strap which works well and still velcros shut when very full.
There’s also a second thinner velvety sleeve I think for an iPad, and a separate paper notebook pocket opposite. This section doesn’t have expansion sides though, meaning you can’t have all three plus the clothing compartment full – the items would be too wide to close the compartment without damaging the kit.
With the clothing compartment full it bulges toward the laptop, which is disconcerting from a damage perspective. I had to remove my A4 sized notebook from here, and replace with an A6 one in the front compartment. This isn’t an issue unless the clothes compartment is full though. (I was testing it for a 5 day trip, not a 3 day one as designed)
Back system
As a mountaineering type I’ve often wondered why backpacks for work have woeful padding given the weights you carry.
Whilst some online reviews criticised the lack of padding, I must say that although it looks thin it is probably the most comfortable bag to carry I’ve had for work, even when completely full and walking miles through an airport.
The back itself is padded whilst having a small groove for your spine so as to avoid sweaty back syndrome.
The carry handle at the top of the backpack straps is very sturdy and thick, and unlike other bags I’ve had looks like it will last the test of time.
The chest strap is a nice addition when walking around foreign cities to reduce shoulder separation stress from the shoulder straps, but it’s not needed on a daily basis to make the bag comfortable.
The shoulder straps have been positioned with a human’s shoulder gap, not a 9 foot tall person with 4 feet between shoulder blades, unlike most bags. This is very welcome as it prevents them sliding off of my shoulders.

There is a secure pocket hidden behind the back compartment. Probably the most useless feature on the bag as it’s nigh on impossible to access. Much better to use the rfid pocket in the front pouch.
The front pouch is lockable, the semi-secret one isn’t. (Security through obscurity is no security at all). The front compartment also easy to get to without everything falling out of your bag, so no big hassle to use this instead.
Key chain
One of the coolest things in the product video – and I even replayed this part 3 times before purchasing – was the point where the guy locks his front door, lets go of the key, and it zooms back perfectly in to the bag!
This thing was hard to find in the bag, but it’s in the second compartment when viewing from the front, in the bottom right hand side mesh pocket.
Using the lower zip (there are two pairs of zips so you can open this compartment from the top or bottom) you can access this key without taking the bag off… With a lot of practice.
Downside is that this works great if its only a single key. If you need to carry two keys (both doors), or key plus fob – basically anything more than just a single thin key – then it’s not strong enough to pull them back in to the bag. They just hang limply by your side.
This was a bit of a let down. I’m still trying to use this system with a single key, but I still need to store my other house key and car key somewhere, so I can’t see me using this feature much longer as it is extra hassle rather than convenience.
If you live in downtown San Francisco this feature is for you. Live anywhere else, forget it.
Packing bags and clothing compartments
The Nomatic Travel Pack has an optional bundle that includes the hip belt, shirt pack, clothing cube, and wash kit. I purchased this option.
Hip belt
The belt I doubt I’ll ever use the hip belt as the bag sits above the hips, thus negating the benefits of a hip belt passing some pressure from the back to the hips.

I find the bottom of the bag touches my spine at the perfect point so all I need to do to relieve pressure is lean back slightly – no hip belt required.
Even when I overloaded the bag and travelled through Amsterdam Schiphol airport for 3 hours during a layover (not a small airport), I didn’t have back pain. (Well, any more than I usually get due to having a weird back).
Shirt bag
The shirt bag is designed to be the same size as the main compartment, with the Compression (for underwear and dirty clothes) cube and the wash kit together taking up the same amount of space as the shirt bag, and so stored on top of each other in the other clothing compartment. There is a mesh and zipped divider in the middle of the clothing Compartment, providing separation.

The shirt bag is advertised to take 3 shirts. I just about fit in 4 shirts, one quite thick. The 4 velcro flaps are a nice feature, but are guaranteed to crease shirts in the corners. Not a big issue though as you’ll have to iron them when you arrive at your destination anyway.
Compression cube
The compression cube is really cool. I fit in 5 pairs of boxers and 5 pairs of socks in one side, and a sports top and trousers in the other, with the compression zip (blue, below) easily compacting the lot.

Don’t forget – the bag is designed for 3 days, not 5, so I was seriously impressed by this. It felt as though there was a little room to spare too.
Wash Kit
Although I’ve not used on trips, I did have a test pack. This is small but not too small. About perfect really – I’ve never understood why men’s toiletries bags are huge. Anyway…
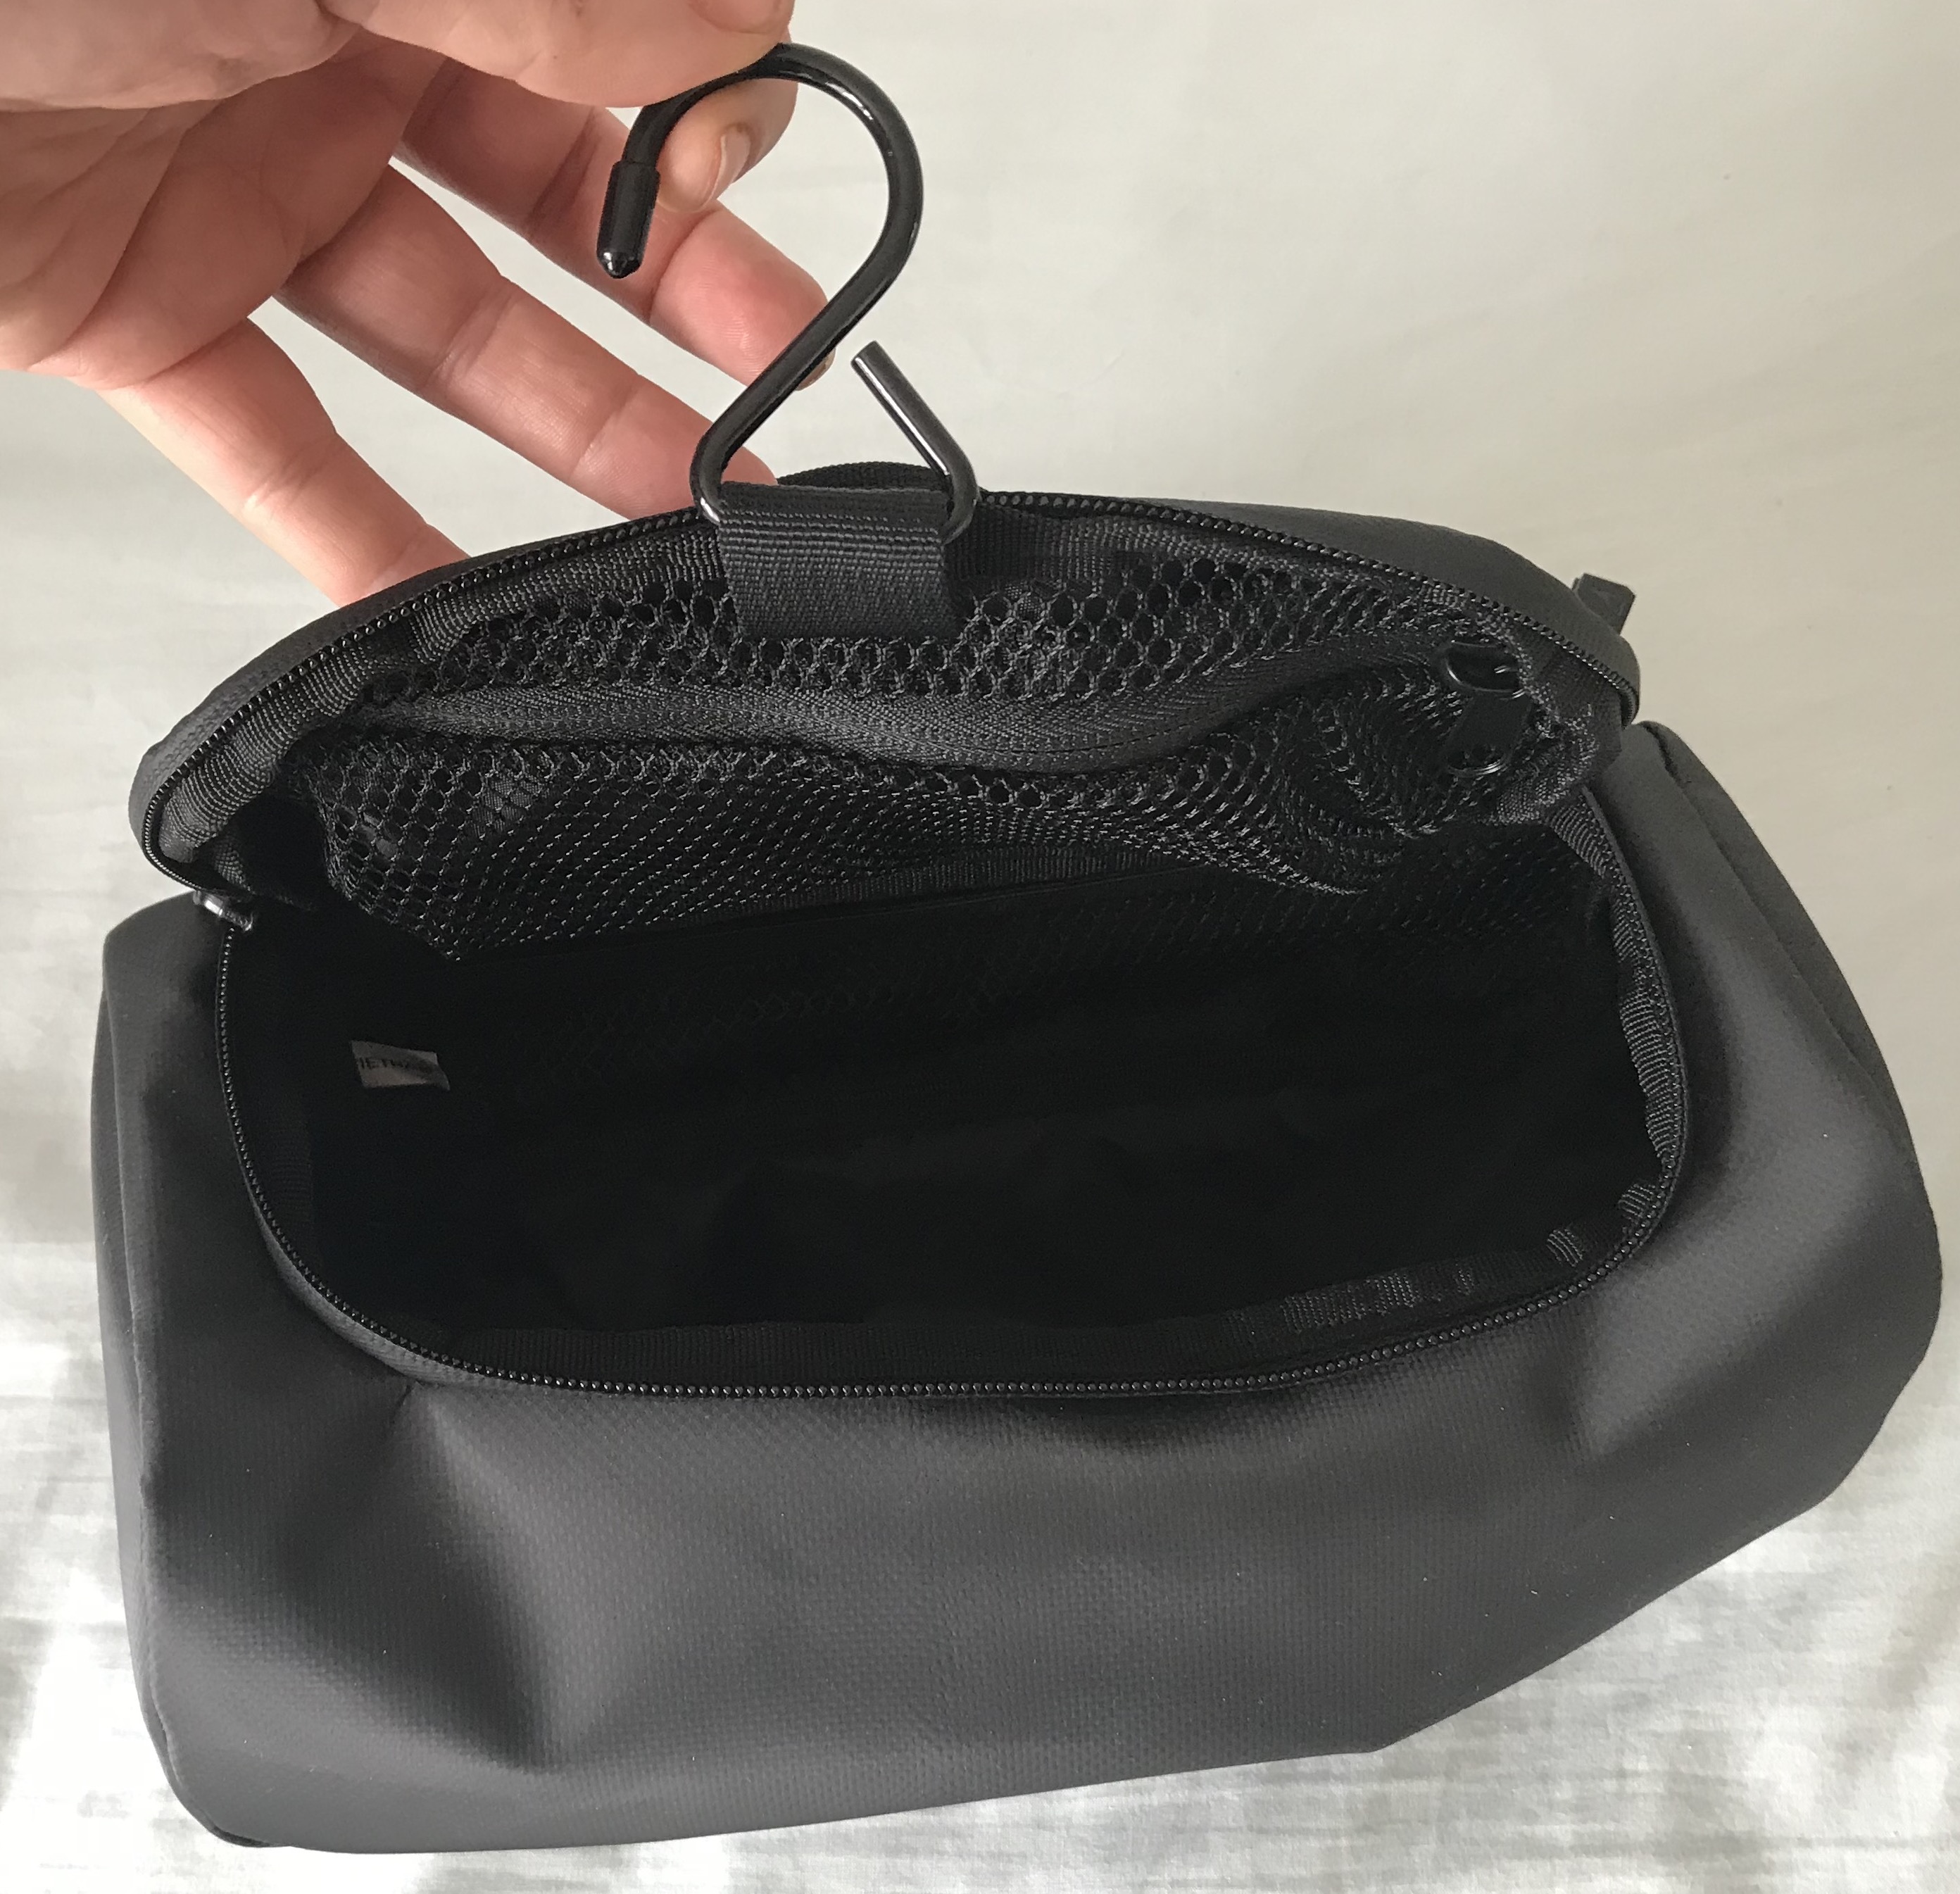
It’s waterproof, has a small zipped compartment at the top, and a hanging hook for hanging on a mirror or door.
Shoe slip compartment
I think you can use the bag for 5 days if – and it’s a big if – your spare shoes are very compressible and you only carry one spare pair of jeans/trousers.
The shoe slip is just a slip, so you’ll have to put your shoes in their own bag to prevent them dirtying the backpack and contents. I did this, and it made the bag so wide I couldn’t close it.
Main clothing compartments
I resorted to placing the shoes on top of each other, which in turn was on top of the compression cube, and not in the shoe slip. This fit much more easily. Perhaps Nomatic should design a shoe cube too?
If you do this of course, you cannot fit in the wash kit. This is probably the biggest downside of the whole system. If you’re carrying trainers you can jam them in and fit them (albeit without the washkit), but you cannot safely store Oxfords or brogues without risking serious damage to them. A big negative for work.

For most people this isn’t an issue – wear the brogues / Oxfords and pack the trainers. Unfortunately though I have Scoliosis and thus have to have orthotic insoles in boots. So if I go away for multiple days, to prevent injury I need to wear my walking boots. If I have an important meeting though I have to wear my brogues for the day, or pack them for a multi day trip.
Thus if I personally need a three day trip with brogues and boots I can do it, but I risk damage to the brogues.
Probably not an issue for most. If you need two spare pair of shoes, for example trainers for running and brogues for work, forget it. Two pairs physically won’t fit with both the shirt cube and compression cube. The shoe slip is too tight to get one pair all the way in, let alone two, so you’ll have to sacrifice main compartment space.
Zips and material
The zips are very stiff to start with, but after just two days are absolutely fine. Even when jammed full I’ve not had issues with the zip use.
Only niggle on the zips is that the front compartment when fully open has a folded flap of fabric on either side to hold the compartment open. When closed these just, but always, get in the way of the zip action when full. Doesn’t happen unless the bag is full, but it is annoying. A 2mm smaller flap on either side and it wouldn’t be an issue.
Tarpaulin as a material in the UK is regarded as cheap and nasty and something used to cover sand on a building site. It’s rarely used as a fabric. If I were Nomatic I wouldn’t advertise that as the name of the fabric for the non US market.
I must say though, it’s a very nice fabric on this bag. A slight shine to it, but not overly so. Doesn’t feel plasticy and cheap. Looks good quality and like it will last.
The patterned but understated Nomatic name patch on the front pocket is a snazzy but unobtrusive addition too.
One slight weirdness is that the front pocket appears to stick out more on the right hand side, as you can see in the below picture:-

You see the flow of fabric? This only occurs on one side. It makes the zip hard to close. That side panel is visibly larger than on the other side. This may be a manufacturing fault – it’s a bit odd. Still works ok though, just a niggle.
Travelling with the backpack – short haul flying
Boarding a KLM Cityhopper, an Embraer 175 jet, the bag wouldn’t fit under the seat. The bag is exactly the size of the hand luggage limit. The issue is more the gap between seats – I couldn’t get it to the floor to put under the seat.
Also, the length adjustments on the back straps caught on the overhead compartment – I had to stow the straps in the back of the bag and apply a little force to make it fit. So on medium sized jets for short haul flights you may have issues if you completely fill the bag.
I suspect the issue is that the strap depth wasn’t included in the bag depth size calculation. This makes it slightly bigger than hand luggage size, but not noticeably so that you get picked up for it when saying it’s a carry on to airline staff.
Given others’ comments about the Tarpaulin fabric scuffing easily I was concerned about the longevity of the bag if used frequently on short haul flights when having to use the seat or overhead. I’ve noticed no such scuffing though, and I wasn’t gentle!
On the return journey the flight compartments were full, so I basically had to take out the packing cube and shoes to fit the bag under my seat. This worked fine, and luckily you can’t see underwear through the packing cube, but was a little hassle.
If you know you need to do this though, then actually it’d be fine. It’s pretty quick to whip those two things out of the bag.
Travelling with the backpack – long haul flying
I travelled from Amsterdam to the USA East Coast for 7 hours on a Boeing 777-200, and the return leg. On the transatlantic flight things were a little better – I could get the bag to the floor at least even in cattle class that I fly in.
It still wouldn’t fit under the seat at all. Luckily no steward complained at me – but it was sticking out ridiculously far meaning my feet had to be spread for the whole journey. Not at all comfortable.

Basically, with both the shirt holder and packing cube in the bag, with a single thin MacBook Pro laptop, no paper notebooks at all, and only basic USB cables in the front compartment – the bag doesn’t fit beneath any seat. Only the bottom 3 inches of the bag were really under the seat.
I’ve never had this problem with any other bag, so I’d say it’s a deficiency of this one. It also means taking your boots off for long haul flying – a survival must – would be impossible if you had passengers on both sides of you. You’d have to store them on the bag at crotch level.
Possible configurations
Here are some configurations that do work, just to be clear:-
- Flattened down for day trips / 1 overnight – works fine, even enough room for the packing cube and wash kit when flattened. So you’ll be fine for a single overnight like this too. Will fit on train overhead compartments and under airline seats. Just roll your spare shirt up.
- Expanded, shirt carrier, packing cube, wash kit, business wear / 1-2 days – this will work ok if you sacrifice 1-2 shirt space for another pair of trousers. If you want a suit jacket extra too, then really it’s for 1 overnight, and it’ll be a tight fit. You will probably not fit the bag under your airline seat or on a train overhead in this configuration.
- Expanded, shirt carrier, packing cube, wash kit, smart-casual / 2-3 days – This is the configuration I think the travel pack is designed for. Forget suits, just jeans and t-shirts or polo shirts. If you don’t carry spare jeans, then 3 days is fine with the full wash kit included. I would question whether the sunglasses case would fit in a mesh pocket in this configuration in the main bag – it seems too bulky to fit. You will not fit the bag under your airline seat in this configuration.
- Expanded, shirt carrier, packing cube, smart-casual / 3-5 days – Sacrificing the wash kit for additional space for a spare pair of jeans and belt (so you don’t have to wear it through security). I basically travelled with just a razor and toothbrush and bought items when out in the USA. No sunglasses case, and those mesh pockets empty except for a single in-ear headset. You will not fit the bag under your airline seat in this configuration. Use this configuration if you’re travelling for 2-3 days and need running kit and trainers too.
Conclusion
I really like the travel pack and would recommend it so long as you don’t expect it to be perfect for every situation.
If I were Nomatic, I’d drop the shoe slip pocket and security pocket and make the laptop compartment a little more elastic in the sides – it’s a bit tight right now. I’d also design a shoe cube too, and ensure the wash kit fits on top of the shirt carrier rather than just the compression cube.
If you need a bag for 1-2 day trips commuting it’s perfect. The third day is a stretch when luggage compartments become a stress.
If you’re travelling for 3-5 days though and don’t mind the extra hassle of storing it in a luggage rack at the end of the train carriage, or getting in the way of your feet on long haul, then you’ll find it ok to use. Probably a good trade off if like me you only fly for work a couple of times a year.
I look forward to using mine for the next few years!
If you use a Nomatic bag, please leave comments below.
