Thanks to Haiku’s newly improved XHCI (USB3) support, you can now install the OS on the PC Specialist Recoil II (aka the TongFang GK5CN6Z). Here’s how it works.
Firstly, go and make yourself a 64 bit Haiku AnyBoot USB key. You’ll need at least a 600MB USB stick for this. I used the latest hrev53001 release.
The nightly Anyboot ISO can be found here: https://download.haiku-os.org/nightly-images/x86_64/
Instructions for creating the USB stick on Linux, Windows or Mac with Etcher can be found here (IGNORE the “Haiku: Using Installer and Drive Setup” section): https://www.haiku-os.org/guides/installing/making_haiku_usb_stick
Now with a working USB stick, insert it in to the Recoil II laptop, and reboot. It should boot to the USB stick and show a Haiku loading page. If it doesn’t, hit F2 on boot and alter the boot order so the USB stick is first.
NOTE: You WILL need to DISABLE secure boot in the BIOS anyway. Best do this now.
Booting and setting up the Disks
The Recoil II is a UEFI machine – this means you have a manual couple of steps to do before you can boot Haiku. The UEFI instructions are here, but my list below may be more precise for people who aren’t familiar with the terminology: https://www.haiku-os.org/guides/uefi_booting/
- By default the Keyboard and Trackpad WON’T be detected, so plug in an external USB keyboard and mouse now.
- On booting from the USB stick, select the correct keyboard layout and language.
- When you see the install page it will complain that you don’t have a Haiku disc to install on to. This is expected.
- Click on Drive Setup in the bottom left corner
- Here, select your hard drive’s root element (NOT the USB stick) – this should have /raw on the end and probably starts /dev/disk/scsi/…
- Click on Disk -> Initialise -> GUID Partition Map
- Once initialised, select the first partition (It’s the ‘dash’ line below the /raw disk line – showing all remaining free space)
- Select Partition -> Create -> EFI System Data
- Set the size to 32 (This is 32 MB)
- Click OK.
- Now click on the ‘-‘ line again (this represents the rest of the disk space remaining free)
- Select Partition -> Create -> Be File System. I set this to 34000 (31 GB) in size.
- Haiku is a very small install, so this is probably overkill, but I have the whole source tree on my laptop and dev for Haiku on Haiku, so most developers will want to do this.
- Again, select the ‘-‘ (remainder of the disk)
- Select Partition -> Create -> Windows data. I set this to all the remaining space
- For each partition, select it in order, and format as:-
- First EFI partition, format at FAT32, and call it ‘EFIBOOT’
- Second Haiku partition, format as Be File System, and call it ‘Haiku’
- Third data partition, format as FAT 32, and call it ‘Data’
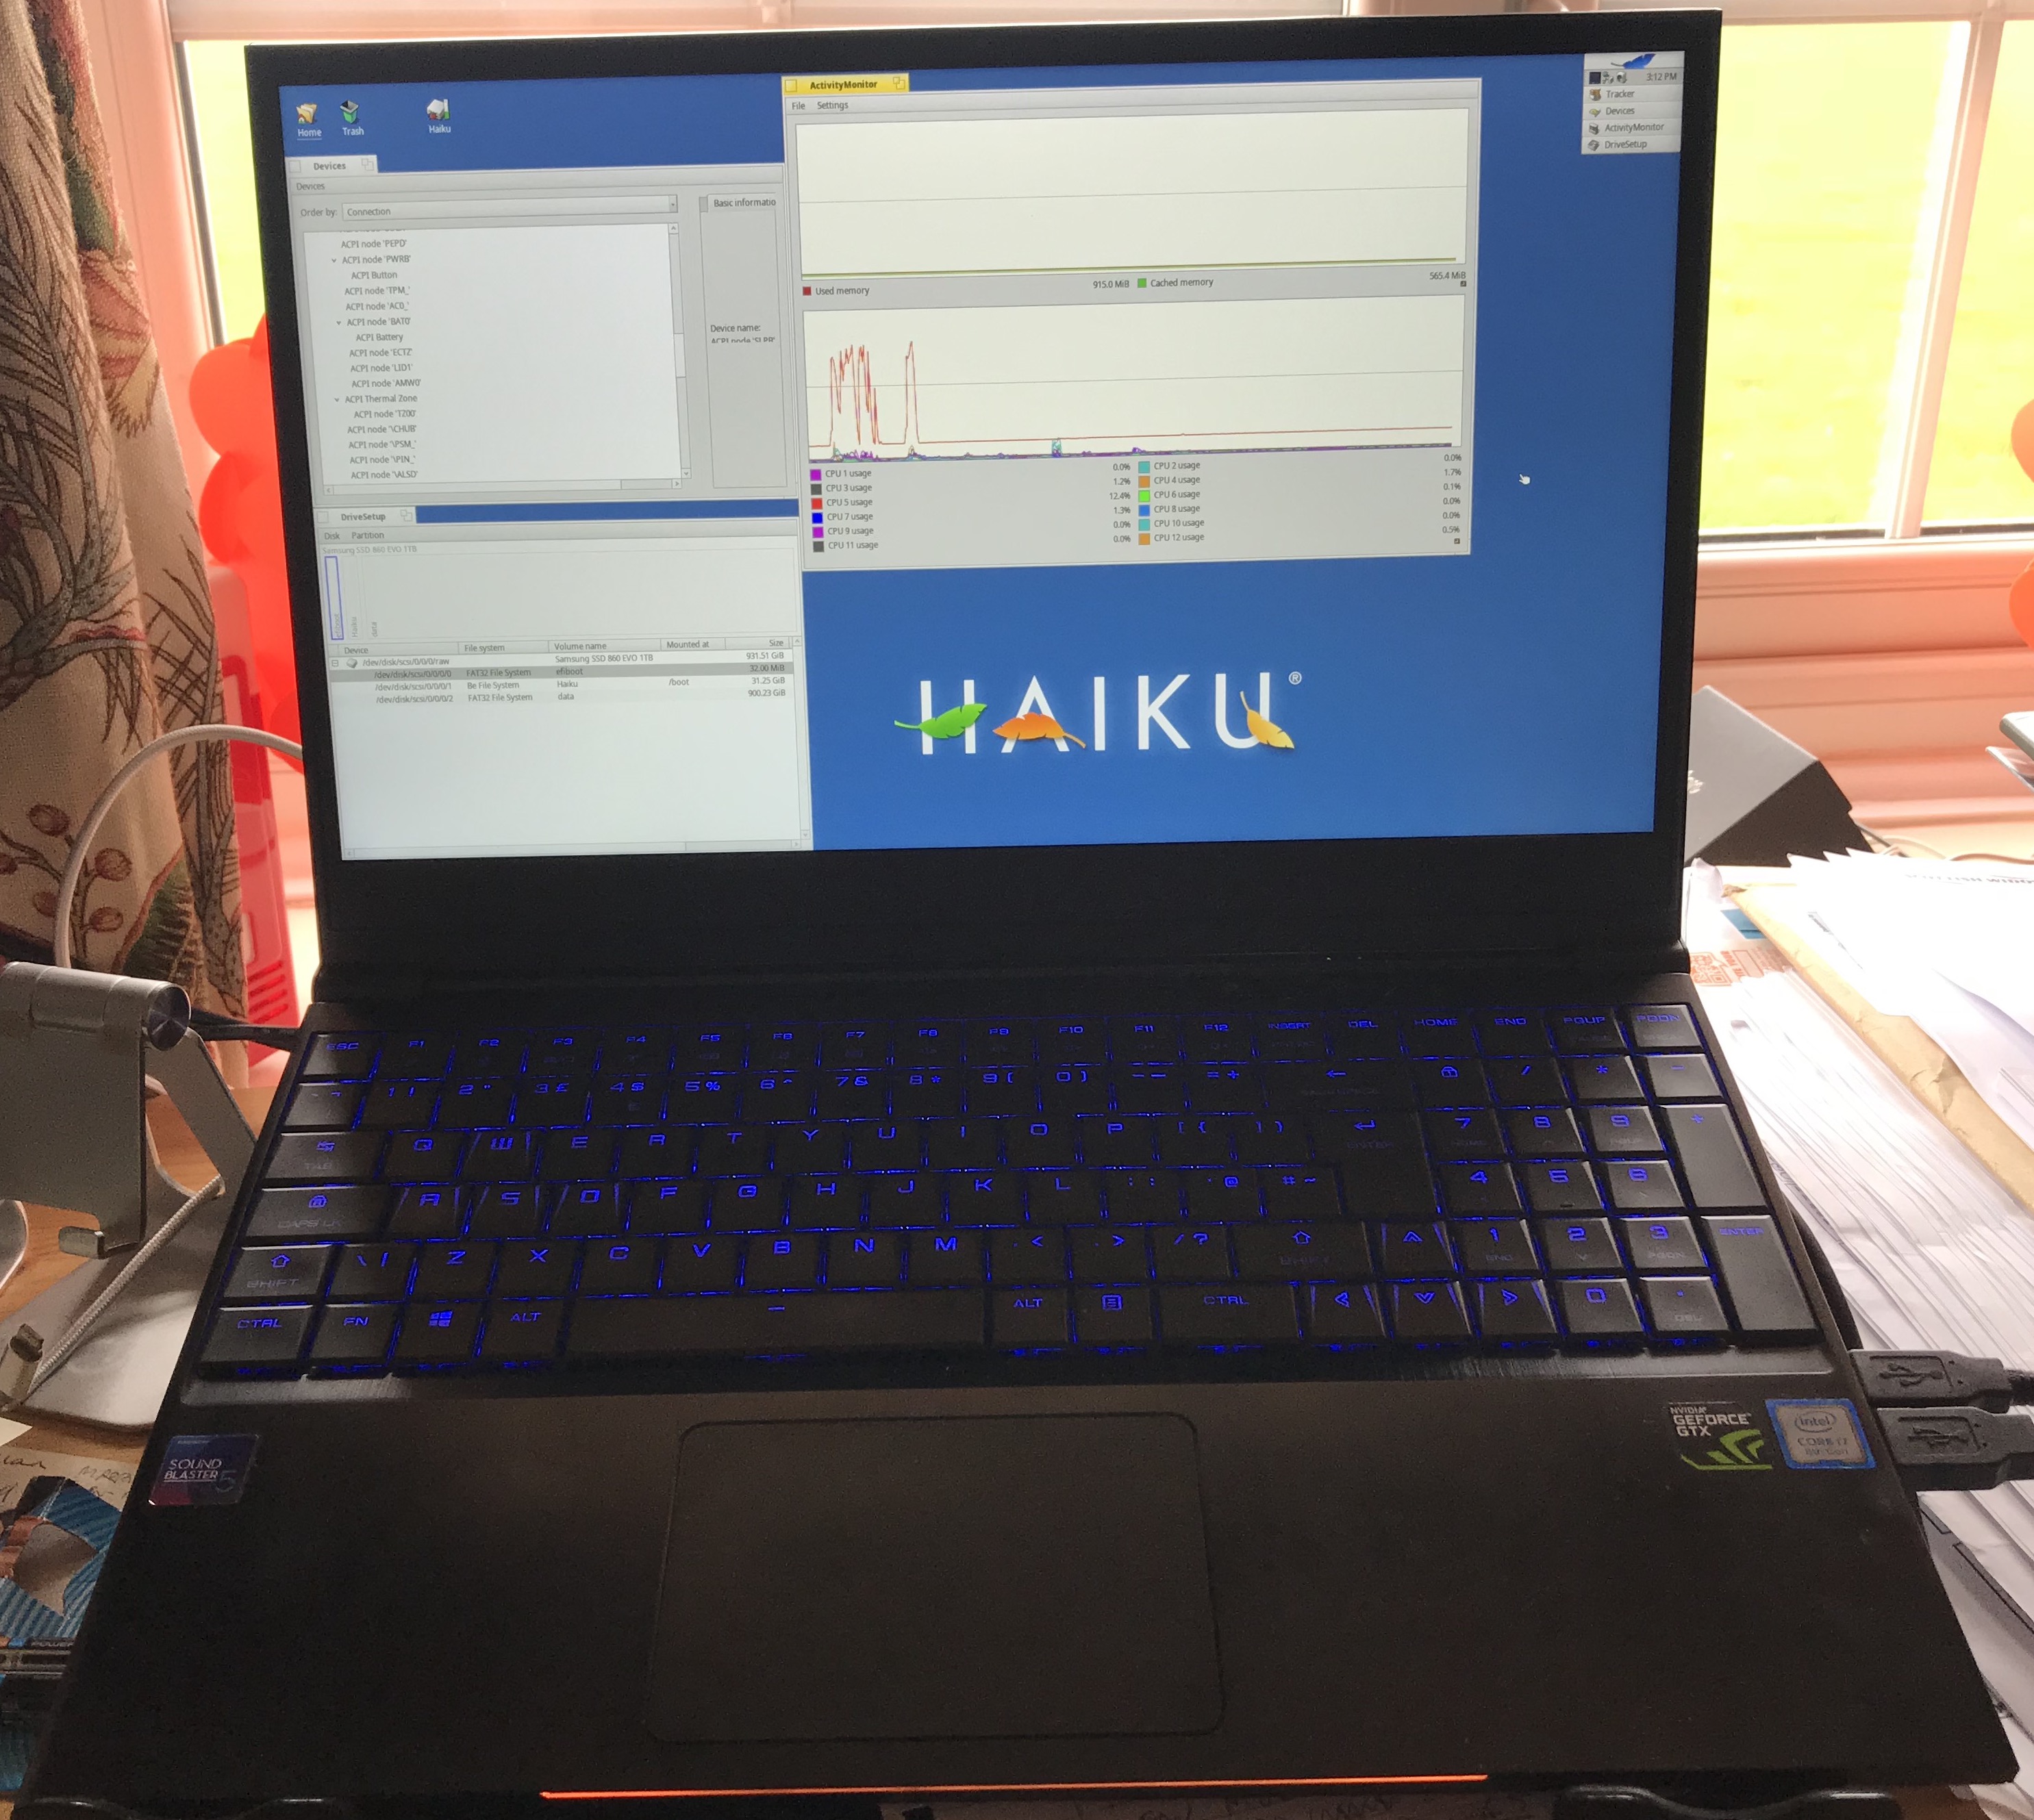
- Confused??? Look at the image at the bottom of this post – your drive should look like this.
- Once this is done, quit out of Drive Setup (The Square to the left of the app title ‘DriveSetup’)
- You can now select your install partition as ‘Haiku’. Do this, and click Install
- DO NOT REBOOT ONCE INSTALLED
- You need to install the EFI boot loader manually…
- Click on the Leaf in the top right corner (A Haiku start menu, if you will), and select Applications, Drive Setup (Yes, you’ve just been here). Right click the efiboot partition, and select ‘Mount’.
- You will notice a drive appear on the desktop. Click this to open it.
- Create the following folder structure: /EFI/BOOT/ (Caps is important)
- Now download the EFI boot file on to another USB stick (FAT 32 formatted ideally), unzip it, and copy the BOOT64X.EFI file to the /EFI/BOOT/ folder without renaming it. You can get that file from here
- Once copied, you can now reboot, removing both USB sticks as you do so
- You now have a working Haiku system (Albeit with a few things not working…)
What works, and what doesn’t
So the Thermal management (fan speed) works much better on Haiku for this laptop than it ever has on Linux and Windows. No thrashing fans unlike the other platforms.
The Intel UHD graphics driver works fine too. The screen goes to sleep after a while too. The Ethernet (cable) network works fine and fast too.
Down side is, the following doesn’t work OOTB:-
- Keyboard (It’s an ACPI WMI Keyboard that supports the standard WMI HID mode, but the driver isn’t in Haiku right now)
- Trackpad (It’s an I2C Trackpad which supports the standard I2C HID mode, but that driver isn’t in Haiku right now)
The keyboard backlight does work, but you can’t turn it off. It’s a Clevo ACPI WMI device (clevo-xsm-wmi.c is the linux driver, to be precise) with a programmable colour LED per key. This currently is not supported in other colours on Windows, Linux or Haiku right now – only on boot in the bios, which is annoying!!!
I really REALLY want to be able to have a pretty colour pattern at will on this machine… Although to be fair, not being able to actually type is the main priority right now.
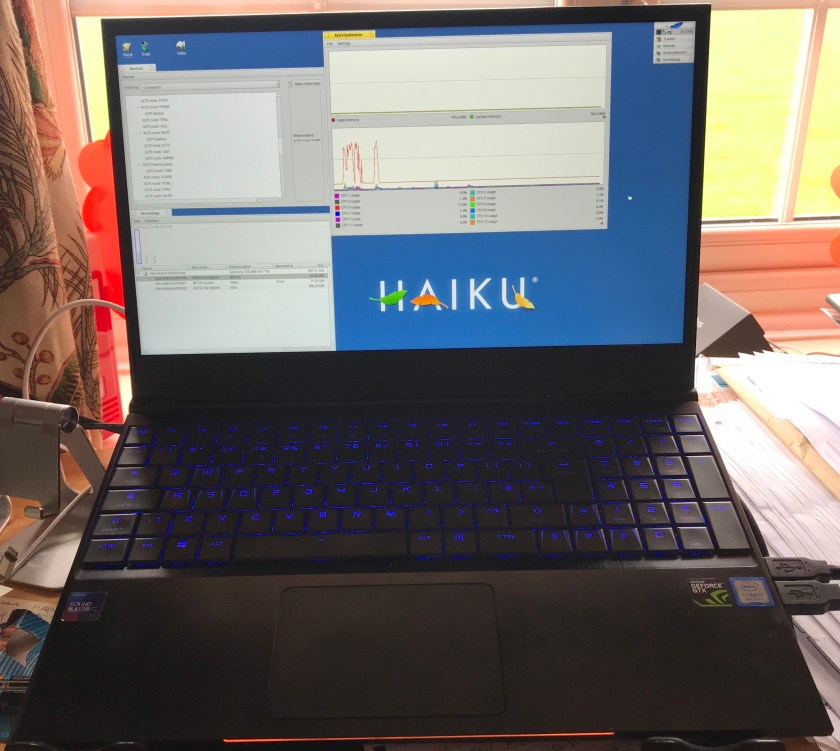
So I’m gonna go try and see what I can do about the keyboard and trackpad. Here is a pretty picture of it all working though:-
Let me know how you get on installing Haiku on modern 64 bit hardware.

One comment